
Anthony’s Nose Hiking Trail in Hudson Highlands, NY
The Anthony’s Nose Trail is one of the most popular hiking trails located in Hudson Highlands Preserve. Located in Westchester County, New York, Anthony’s Nose Trail has an incredible view and can be accessed by new and experienced hikers.
There are multiple entrances to hike this trail, and each one is meant for a different type of hiker – so use this guide to help plan your trip and know what to expect when you set out to get that famous shot of Bear Mountain Bridge over the Hudson River.
This article explores the Camp Smith Trail from Bear Mountain Toll House- a 3.5 mile (one-way, 7 miles total), advanced hiking trail leading up to Anthony’s Nose. It also passes by a 1.0 mile easier segment of the Camp Smith Trail that beginner hikers can use to reach the summit.


Overview
Difficulty: 7.8/10 from Toll House Parking or 4.0/10 from closer parking
Location: Cortland NY in Westchester County
Parking: Limited. More available at Toll House Parking, but only a few spots at the closer, easier trail head
Cost: Free
Distance: 7.0 miles total (3.5 miles one way) for the Toll House Trail, 2.0miles total (1.0 mile one way) for the closer parking
Elevation: 850 ft
Features: Several overlooks, Anthony’s nose Mountain Top, View of Bear Mountain Bridge
Hours: Sunrise to Sunset
Time: 5-7 hours from Toll House, 1-3 hours from closer parking, depending on how long you want to spend at view points
Bathrooms: One portable toilet at Toll House, NO bathrooms at all at the closer parking.
Dog Friendly: Yes, but must be on-leash at all times
Cell-Phone Service: Great. I had service the entire hike
Location of Anthony’s Nose
If you’re approaching the Anthony’s Nose Trail from the Bear Mountain Toll house parking area, then the location is easy to find. Bear Mountain Toll House when typed into google maps will take you right to where you need to go.
If you’re not yet ready to do the longer route and prefer to park a bit closer to the top of Anthony’s Nose, then you may have more difficultly locating the trail head. It’s not marked on google maps, so you’ll need to use these coordinates to locate it.
There is also a third location if you want more options. I didn’t highlight it in this guide because it’s a shorter trail, but also a lot more complicated and contains some serious rock scrambles. But if that’s your thing, you can start from north of the peak and hike up this way. Here are the coordinates, but you’ll have to park on the side of the road next to the “no parking” signs and risk the ticket. I’d recommend either of the other lots over this one.
If you aren’t driving, then you’re in luck because Anthony’s Nose Trail is easily accessible from the train as well! All you’ll need to do is take Metro North to the Garrison stop, then take an 10-minute Uber or Lyft to either trailhead.
The Anthony’s Nose Trail is a part of the Hudson Highlands State Park Preserve, which does a great job with their trail maps and showing exactly where you need to go if you’re looking to hike this trail.

Parking and Bathrooms for Anthony’s Nose Hiking Trail
If you are starting from the longer, Toll House trailhead, then parking generally should be plenty. On a popular weekend I could see the parking lot filling up, but other than that you should be able to get a spot. This parking lot also has a portable toilet to use, which I thought was pretty clean.
If you are parking at the closer lot, there is very limited parking. When I passed the parking there is probably room for maybe 6 cars, and yet 12 were crammed into the lot, with more people circling looking for parking. I’d recommend getting there early, or parking somewhere close and Ubering to the trailhead. Cell phone service was good at the parking lot.


Trail Entrance for the Camp Smith Trail to Anthony’s Nose
From this parking lot you’ll head past the Toll House and large hiking information sign, and then through the grassy area to enter the trail. It’s not clearly marked until you get closer, but it’s also the only direction that makes sense to walk in, so you should find it easily. When you get to the trail you’ll head left to get on the trail and follow the blue trail markers all the way to Anthony’s Nose.
Just a note, ticks love grassy areas like these. There are signs everywhere warning about ticks, so make sure you’re taking precautions to avoid tick-borne diseases.
From the closer parking lot the trail is immediately next to where the cars park. You’ll head left past the signs and cross the stream. You’ll follow the blue trail markers all the way up the Anthony’s Nose Trail.


Hiking Anthonys Nose Trail – Beginning
The Anthony’s Nose Trail starting from the Toll House is a rocky up and down hike. You are always on some type of hill, with very few entirely flat areas to catch your breath. But the beauty of that is that you’re surrounded by rocks covered in green, lush goodness. It reminds me of middle earth, or some type of fairytale land it’s so beautiful.
The only downside though is that you are right next to a main road for the majority of the hike. Because of this you never feel truly immersed in nature as car sounds can be heard for pretty much the entire hike.
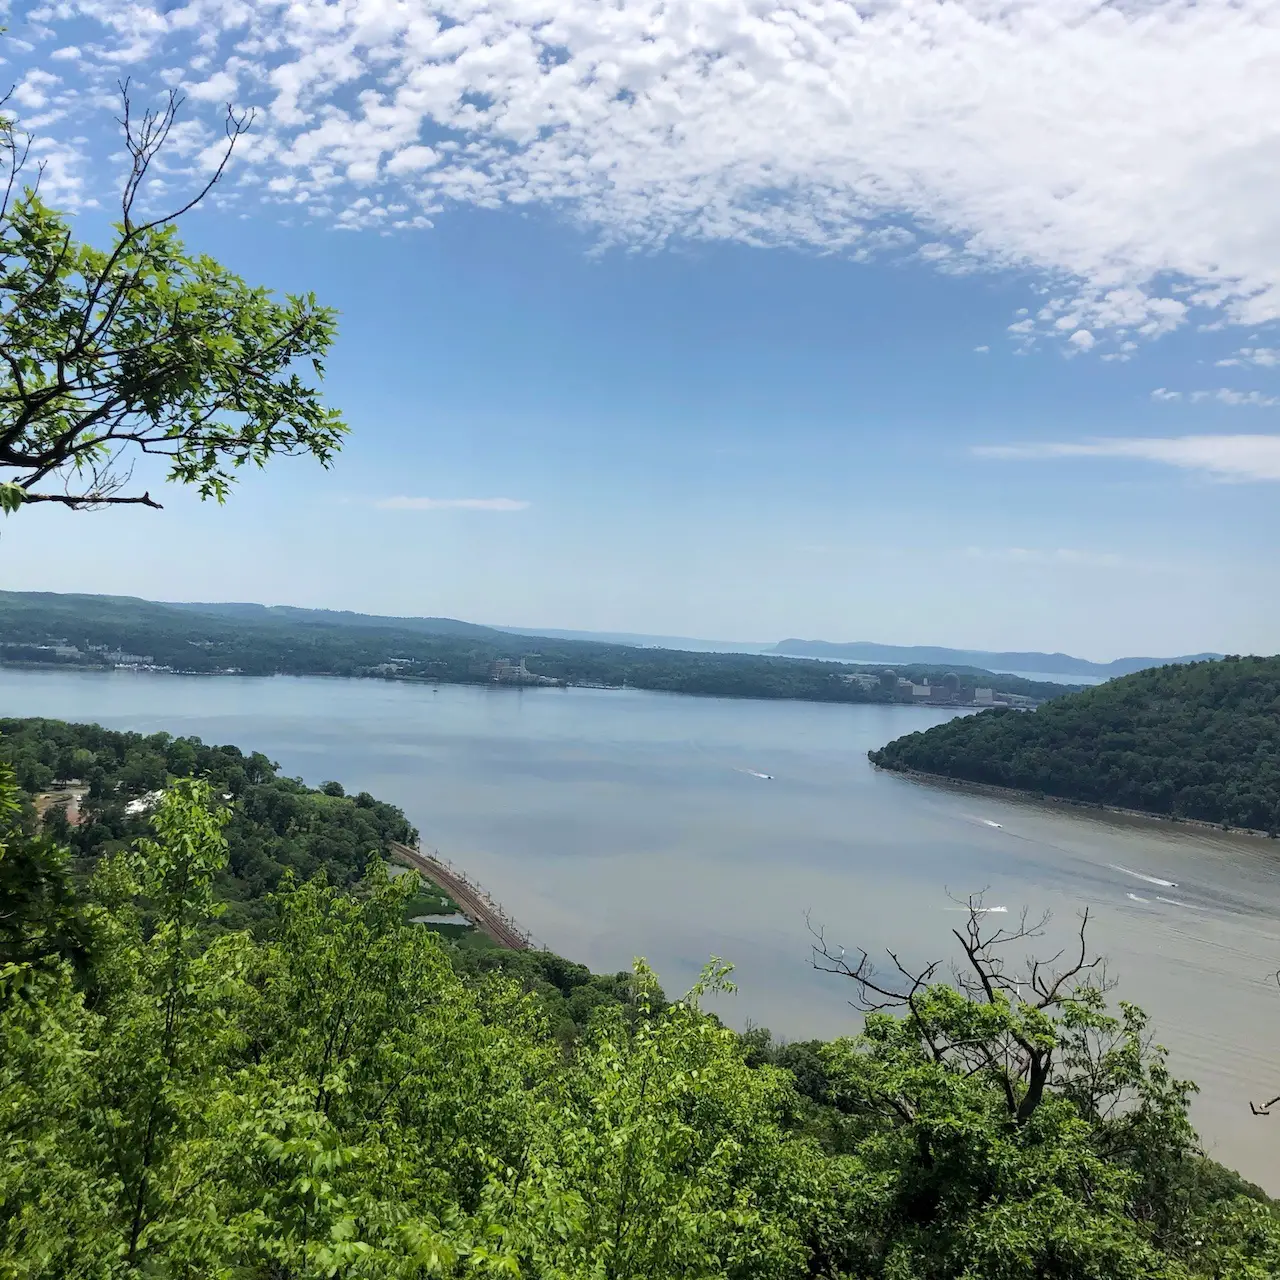
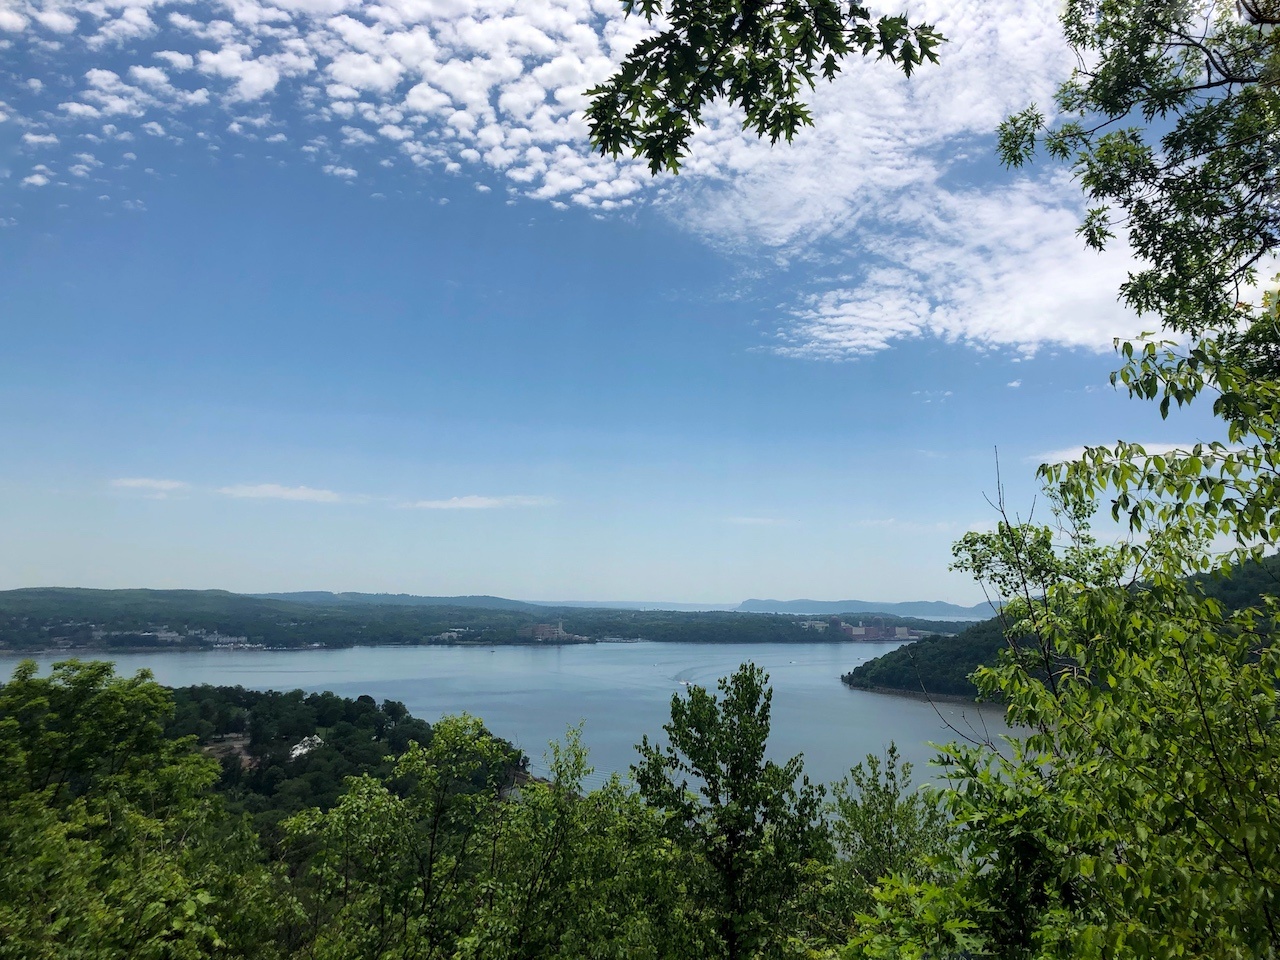
There are several beautiful viewpoints encouraging you along the trail.
The Camp Smith Trail leading up to Anthony’s Nose isn’t a wide trail where your entire group can fit as you hike up. No, it’s mostly a single file type of hike, at least until you get to the closer trailhead. When you get there the trail does widen some, but there are still multiple sections where you’ll need to go one at a time through the trail.
The other part about this trail you’ll want to keep in mind is that it’s a bit overgrown. In several areas vegetation was growing over the trail and you had to walk through it to continuing along the path. I was first in my group, so I definitely walked through several spider webs that had made their way across the trail.
In situations like these you also want to make sure you’re wear proper clothes and prepared to prevent ticks. This is a perfect chance for a tick to hitch a ride and make you their next meal.


Hiking Anthony’s Nose Trail: The Final Ascent
If you’re starting at the closer trail head and are only doing the 1.0 mile hike to the ascent, this section is for you. If you’re coming from the Toll House, you’ll reach the final ascent about 2.5 miles into your hike.
The last mile of the Anthony’s Nose Trail is completely uphill. You are climbing a mountain, so what else should you expect? I wouldn’t say that it’s exceptionally steep, but rather a standard easy-to-moderate climb to the top.
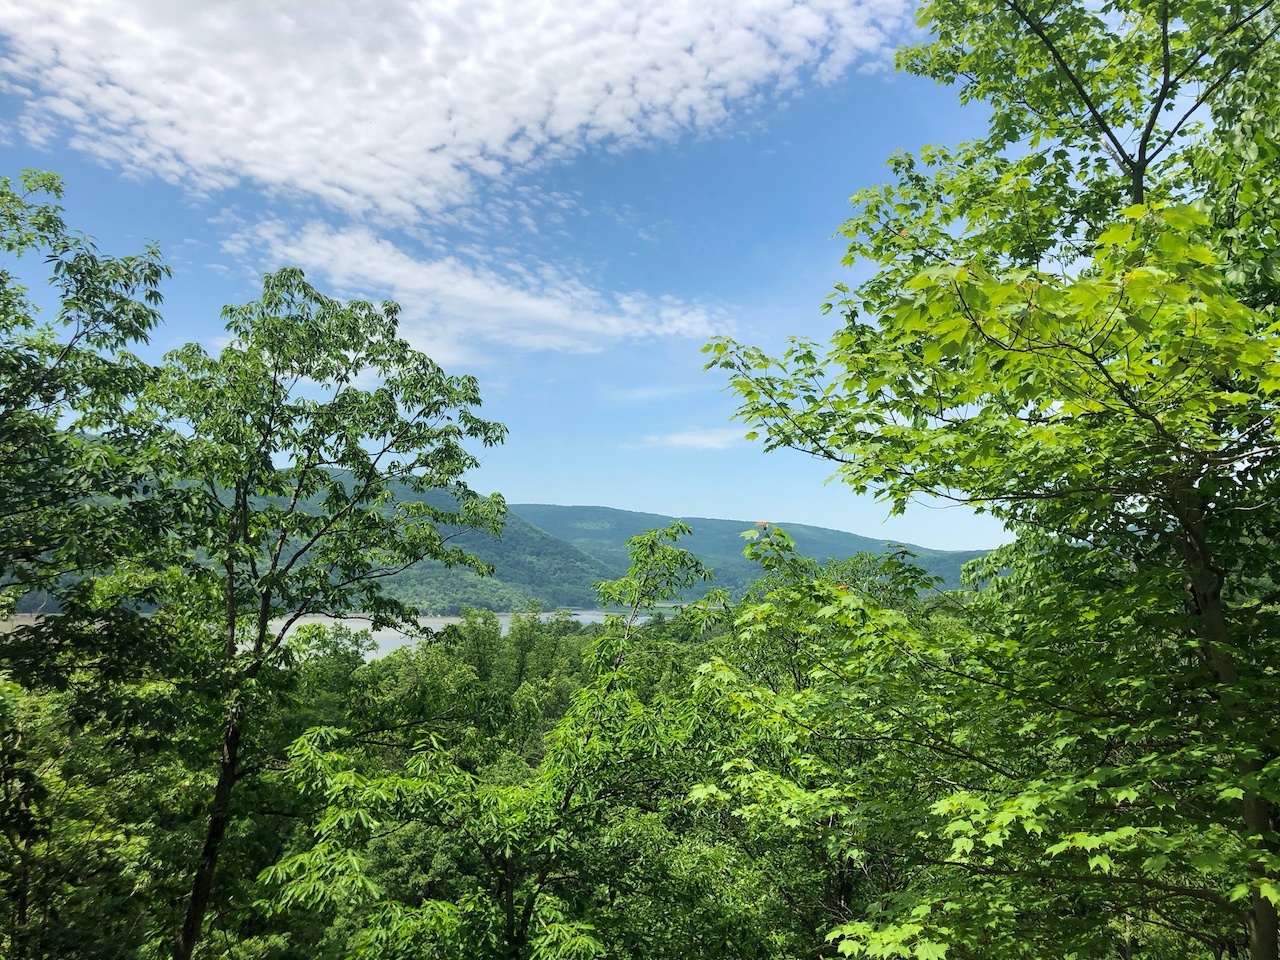
During this section of the hike you’ll come across some additional outlooks and open rocky areas. These let you know you’re getting close to the top.
When you are in these places be sure to take a second to look around. While we were on these sections we noticed a lot of large birds flying around at our level. It’s so neat to see the birds-of-prey in the air so closely.

Hiking Anthony’s Nose Trail: The Top of Anthony’s Nose
When you make it to the top you’ll emerge from the wooded section of the trail, onto a open, rocky area. Then you’ll see the topmost point and climb up there look around and ask yourself “where is this view I keep seeing in pictures, all I see here are trees?!”
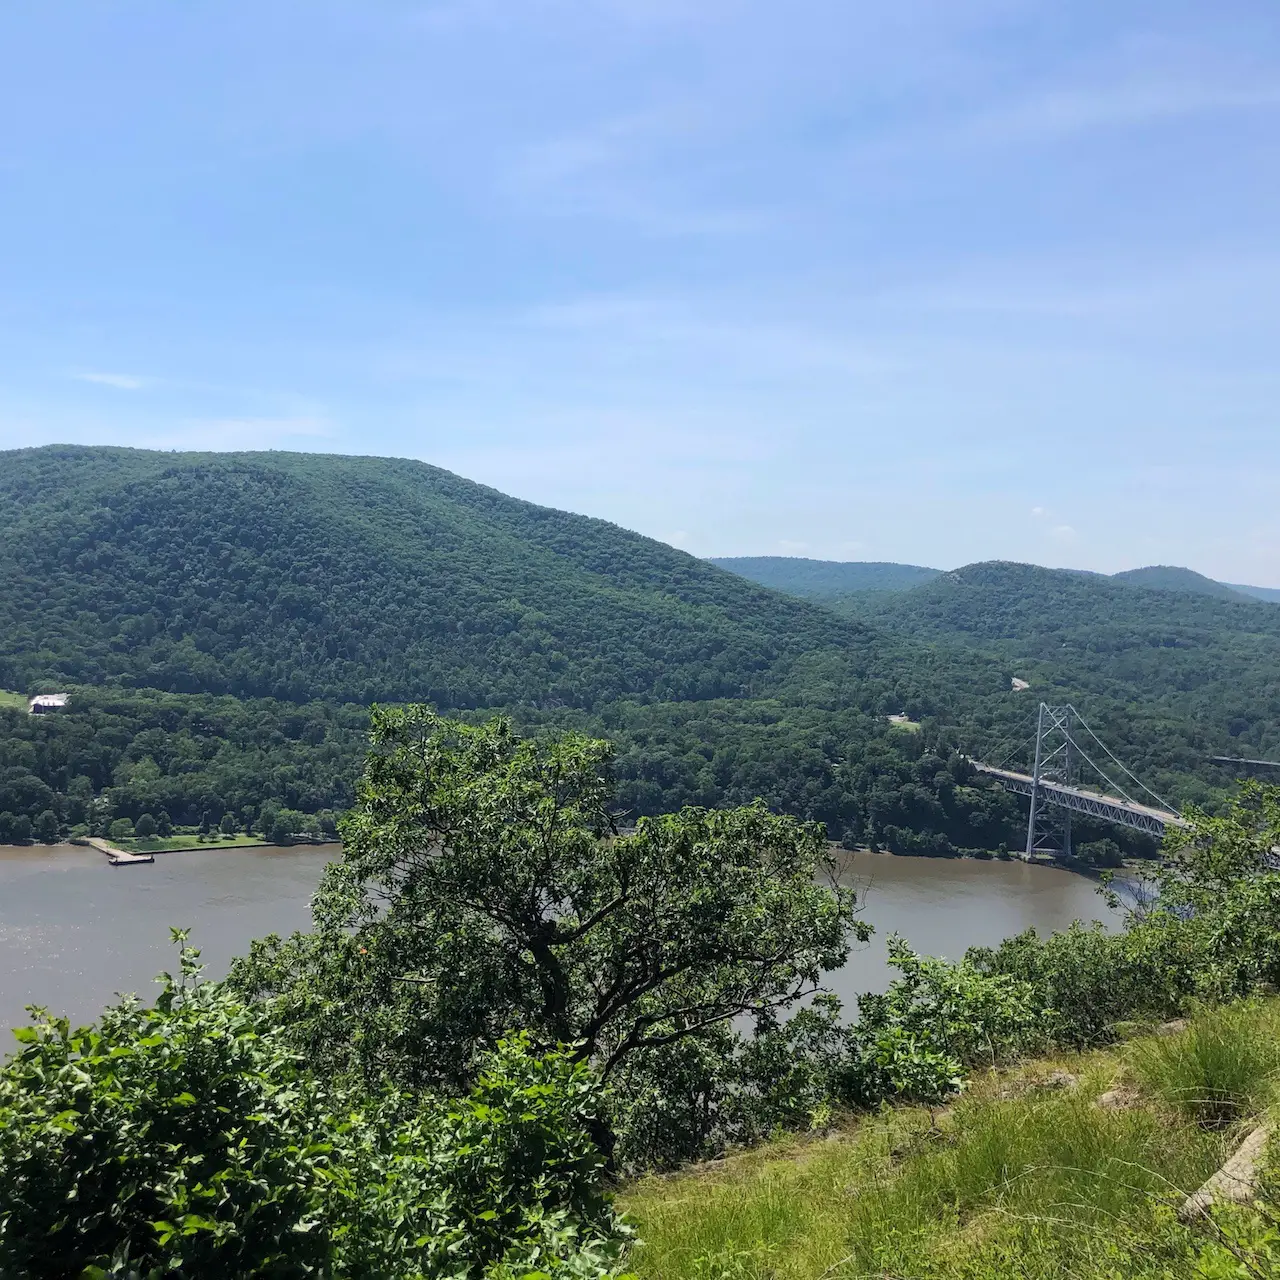
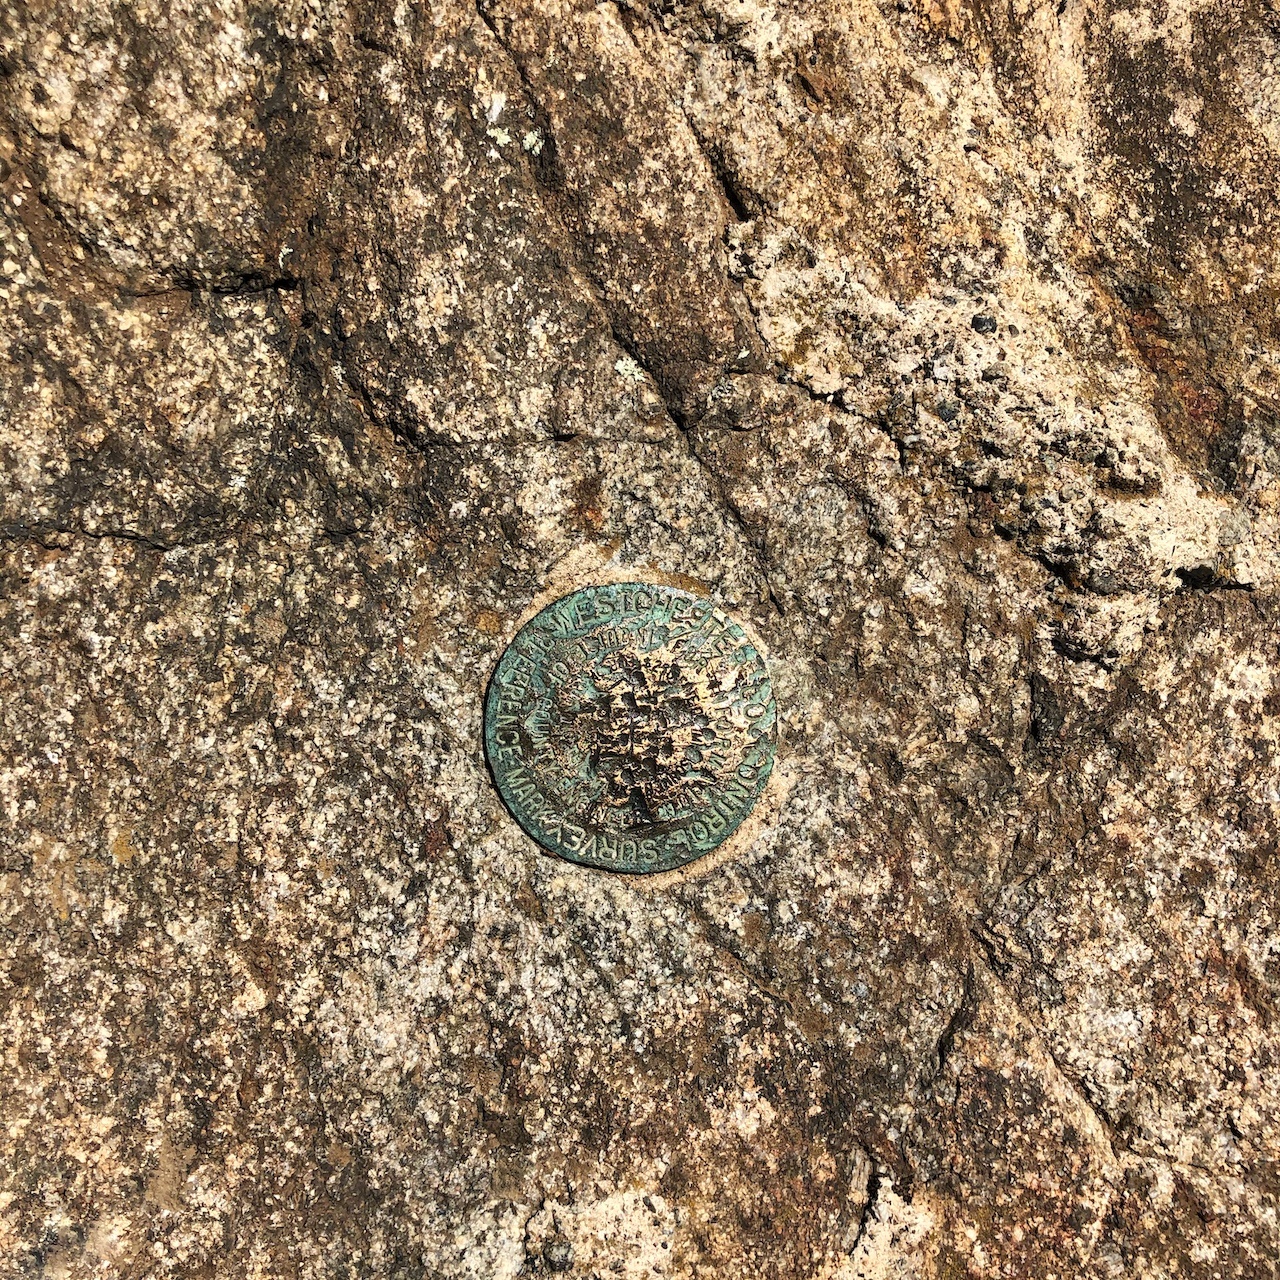
The spectacular view of the Bear Mountain Bridge doesn’t actually happen at the top. You’ll have to go down a very short way past the top of the mountain to get the exact view. When you get to the top of Anthony’s Nose though, make sure to look down where you’re standing and snap a picture of the mountain marker!
Once you hit the top of the trail, continue down off the rock and you’ll see a sign for the Anthony’s nose overlook. It’s a 2-3 minute walk from the official mountain top. You’ll know when you get there because you’ll see the beautiful view, but there is also an American Flag to notate the spot. There are a few different photo spots to snap your picture, and in between them is this collection of painted rocks dedicated to local firefighters and law enforcement officers.


We spent about an hour at the top, taking in the view or resting in the shade of the trees at the actual mountain top marker. It’s a great place for a picnic or even a nap (I saw someone taking a quick snooze at the top). When you’re ready to leave, just head back the way you came. Luckily, it’s all downhill for the next mile.
Anthony’s Nose Nearby Military Base
Throughout the hike you’re going to see large, threatening signs about the nearby military training reservation that borders the Camp Smith Trail leading to Anthony’s Nose. The border of the military reservation is immediately next to the Anthony’s Nose Trail for pretty much the entire hike. These areas have large signs and are usually marked off by ropes. Obey the signs and don’t go exploring off trail.
Exploring off trail will likely get you hurt, or lost, or worse. Plus, it is an active military training base, and during my hike you could hear firearms being used for training purposes. Straying into areas like these just put you in danger of getting critically injured and of someone accidentally critically injuring you because they weren’t expecting a stray hiker to be in a blocked off area.
So, obey the sign – and if you want to explore this area then do what the sign says and join the Army National Guard. I’m sure they’d be happy to let you get on that land.

Other Tips to Remember
If you’re starting from the Toll House trailhead, give yourself some extra time to complete this trail. Due to how rocky it is, it took us longer than expected to hike the entire thing because we were hiking slower over these areas. We ended up hiking out at sunset, and would have gotten an earlier start had we known how narrow and rocky the trail would be.
If you’re new to hiking and are starting at the closer trailhead, then make sure you know read about the 10 best hiking tips for beginners. I saw so many beginner hikers carrying absolutely nothing for their hike, including not even having water. This isn’t smart at all, so make sure you have everything you need to enjoy yourself and stay safe on a hike.
For either trailhead, you are going to want to have the proper gear. Hiking boots are absolutely required from the Toll House, and strongly recommended from the closer trailhead. Hiking poles are optional, but helpful if you’re doing the longer trail. And, as always – follow the 7 principles of leave no trace. On the more popular, closer trail, I saw several pieces of trash just on the trail. Don’t be that person – pack out what you carry in.
Hiking the Anthony’s Nose trail in the Hudson Highlands State Park Preserve will allow you to see the beautiful Hudson River, take that perfect instagram photo (if you’re into that), and get a great workout.
Want more content like this? Fill out the form, and you’ll receive content just like this directly in your inbox.


